The $20 Tool That Saves You $200 at the Mechanic
We’ve all been there: you’re driving to work, the engine feels fine, but suddenly a glowing amber light pops up on your dashboard. Your heart sinks because you know that a trip to the dealership usually starts with a $150 diagnostic fee just to tell you why that light is on. Most drivers feel helpless in this moment, at the mercy of a mechanic’s word and a mounting repair bill.
The truth is, that light isn’t a mystery—it’s a data point. By using an OBD2 scanner, you can pull that data yourself in under sixty seconds. You don’t need a degree in mechanical engineering to save hundreds of dollars; you just need the right interface to talk to your car.
What you will learn in this guide:
- How to use an OBD2 scanner to bypass expensive “diagnostic” fees.
- The difference between a “hard code” and a “soft code” (and why it matters for your wallet).
- A step-by-step process for diagnosing your own vehicle like a pro.
- The #1 mistake beginners make when clearing engine codes.
Why the OBD2 Scanner is Your Best Friend
Every car manufactured after 1996 is equipped with On-Board Diagnostics (OBD). Think of it as your car’s internal diary. When something goes wrong—a loose gas cap, a misfiring spark plug, or a failing sensor—the computer logs a specific code.
Mechanics often charge an hour of labor just to plug in their professional-grade tablet and read this code. With a basic OBD2 scanner, which you can find online or at an auto parts store for about $20, you gain access to that same information. You transition from a “clueless customer” to an informed owner who knows exactly what part needs attention.
Breaking the Information Asymmetry
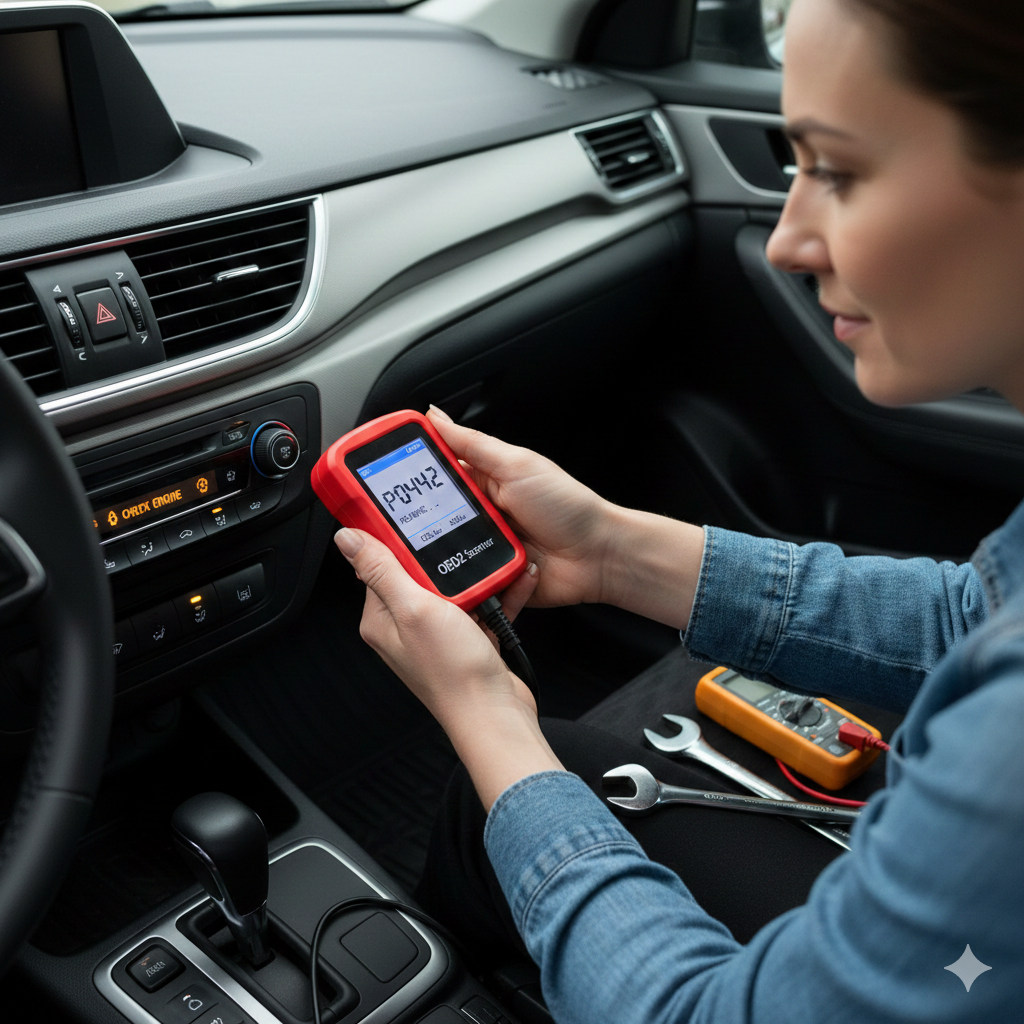
The “Check Engine” light is intentionally vague to get you into the shop. However, the actual diagnostic trouble codes (DTCs) are universal. An OBD2 scanner translates that scary light into a code like P0442, which instantly tells you there is a small leak in the evaporative emission system.
Instead of saying “My car is broken,” you can walk into a shop and say, “I have a P0442 code; can you smoke-test my vacuum lines?” This shift in language signals to the mechanic that you aren’t an easy target for “blinker fluid” style upsells.
The Unique Angle: Why Most People Fail with DIY Diagnostics
Simply having the tool isn’t enough. The most common mistake beginners make is parts cannoning—throwing new parts at the car based on the first code they see without investigating the root cause.
Case Study: A user gets a code for an “O2 Sensor Circuit Malfunction.” They spend $80 on a new sensor, install it, and the light stays on. The real issue? A $2 frayed wire leading to the sensor.
To save the $200, you must use the OBD2 scanner as a compass, not a final answer. Use it to narrow down the system that is failing, then perform a visual inspection before spending a dime on parts.
How to Use Your Scanner in 4 Simple Steps
- Locate the Port: The OBD2 port is almost always located under the dashboard on the driver’s side. It’s a trapezoidal 16-pin connector that looks a bit like an old computer printer port.
- Plug and Power: Plug your OBD2 scanner in while the engine is off. Turn the ignition to the “On” or “Accessory” position (where the lights on the dash come on, but the engine isn’t running).
- Read the Codes: Hit the “Scan” or “Read” button. The device will communicate with the car diagnostic tool software inside your vehicle and display the active codes.
- Research the Code: Don’t rely on the tiny screen’s definition. Type your car’s year, make, model, and the code into a search engine to find common “real-world” fixes from enthusiast forums.
Understanding “Live Data” and Freeze Frames
Even a cheap $20 OBD2 scanner often provides “Freeze Frame” data. This is a snapshot of exactly what the engine was doing the moment the error occurred.
- Engine RPM: Was it idling or at highway speeds?
- Coolant Temp: Was the engine overheating when the light tripped?
- Fuel Trim: Is the engine running “lean” (too much air) or “rich” (too much fuel)?
This data is the “secret sauce” that automotive repair experts use. If a code only triggers when the engine is cold, you know it’s likely a sensor or thermostat issue rather than a mechanical failure.
Professional Tips for Saving More Money
If you are on a budget, use your scanner to determine if a repair is urgent or maintenance-related.
- Steady Light: Usually means a non-critical sensor issue or emissions problem. You have time to research and fix this yourself.
- Flashing Light: This indicates a “catalyst-damaging misfire.” Stop driving immediately, as this will turn a $200 repair into a $2,000 catalytic converter replacement.
By using your OBD2 scanner to identify a flashing light early, you prevent catastrophic damage that no amount of DIY skill can cheaply fix.
Free Resources to Pair With Your Tool
Once you have your code, don’t just guess. Use sites like RepairPal or AutoCodes to see the average repair cost in your zip code. This ensures that even if you choose not to do the work yourself, you aren’t being overcharged for labor.
The Verdict: Is it Worth the $20?
An OBD2 scanner is the only tool in your garage that pays for itself the very first time you use it. It removes the anxiety of the unknown and puts the power back in your hands.
Whether you’re a student on a budget or someone who just hates being overcharged, this device is the ultimate gatekeeper against unnecessary automotive repair costs. Stop paying for “scans” and start owning your data.
Ready to take control of your car’s health? Pick up a basic scanner today and run a “health check” on your vehicle—even if the light isn’t on!


0 Comments